How to Purchase only the Fabric you need & Save Money!
- Nov 20, 2025
- 5 min read

A couple of weeks ago, I shared a video with 9 Tips on How to Purchase Fabric Online. In this post I want to share a little bit about how you might not need to purchase as much fabric as you think, and how you can save some money by taking a few steps before purchasing fabric. Don't forget to scroll to the bottom and grab a free copy of the Fabric Swatch Book! Personally, I like to purchase good-quality fabric, which can make sewing more expensive. From a financial perspective, it’s nice to buy just the amount you actually need. But I also don’t want extra fabric going to waste or ending up in the landfill. I do have another post that I’ll link where I discuss ways to donate and recycle leftover fabric. It's better for your budget and the environment to only purchase the amount you need. As always, if you prefer to listen, here is the video.
1. Choose Your Pattern Before You Buy Fabric
I realize that doesn’t always work—especially if you’re lucky enough to shop in person and you see a beautiful fabric that you just have to buy, even though you don’t know what you’re going to make with it yet. But most of the time, I like to choose what I’m going to make first, and then go looking for fabric for that specific pattern. The advantage is that you’re not saying, “Well, I think I’m going to make a skirt out of this, but I’m not really sure, so I’m going to order 3 yards,” when maybe you only need 1½ or 2 yards. When you’re specific, you can decide, “Okay, this is what I’m going to make,” and then you just order the amount that the pattern calls for.
2. Purchase and Prepare the Pattern
The second thing to do is actually purchase the pattern if you don’t already have it.
If it’s a PDF pattern, print it out and put it together.
If it’s a paper pattern, open it up and determine what size you need.
Then think through any alterations you’re going to make and how that affects how much fabric you’ll need. I realize this takes a little time, but it can save you quite a bit of money in the long run.
A couple of reasons for this:
Are you going to make any adjustments?
Do you need to lengthen it? That will mean you need more fabric.
Are you going to shorten it? In that case, you may be able to get away with less fabric than the pattern suggests.
This is especially true with current style trends. For example, I’m wearing the Tilda blouse from Maison Fauvre today. The pattern was released several years ago, but because of the cropped styles that are popular right now, when I made this, I shortened it quite a bit—even though normally I don’t shorten patterns very much. Right now, with more cropped lengths in style, I easily could take several inches off the length of the top, which affects how much fabric I actually need. I also took this in by a couple of inches, and that affected how much fabric I needed too. So by making these adjustments ahead of time, I can more accurately determine how much fabric is actually needed.
3. Understand How Pattern Yardage Is Calculated
When you’re figuring out how much yardage a pattern is going to need, keep in mind how designers usually calculate that number. As a designer, I know personally—and I think most designers feel this way—the last thing we want is for you to purchase our pattern, look at the back to see how much fabric you need, buy that amount, and then, when you go to make it, discover you don’t have enough.If that happens, you probably can not get more of the fabric. So when I’m doing the layout and yardage, I tend to err on the side of including a little bit more so you’ll be okay when you go to sew the garment.
If you’re willing to do a test layout yourself often you will realize that you could get away with a little bit less than what’s listed.
4. Create Your Own Fabric Layout
Create your own layout. It’s amazing how much fabric you can save if you’re willing to play around with the pattern pieces a bit. This is especially true if you’re making one of the smaller sizes in the size range. As a pattern designer, when I am putting together the fabric layout, I’m not going to ask you to fiddle too much with the layout—but if you’re willing to, you can often save fabric. So how do you do that? I have three ways.
a. Cut Single Layer When Possible
First, see if there’s any way you can cut some pieces single layer instead of double.
Most layouts provide for both pieces to be cut out at once. This is quicker but often uses more fabric.

b. Fold Only What You Need
Another way to save fabric is to avoid folding the fabric right down the middle.
Instead, only fold the fabric toward the middle as much as you need for the pattern piece that has to be cut on the fold. That gives you a lot more usable fabric in the remaining section to fit pieces into. For example,
I folded the fabric just enough so I could lay the skirt piece on the fold. Then, with the remaining fabric, I was able to cut the front bodice piece single layer.
By not folding the fabric all the way down the middle, I kept more usable fabric open for other pieces.

c. Skip a Nap Layout if Possible.
Pattern designers often provide a Nap layout. This is when all the pattern pieces go in the same direction.
This layout is necessary if:
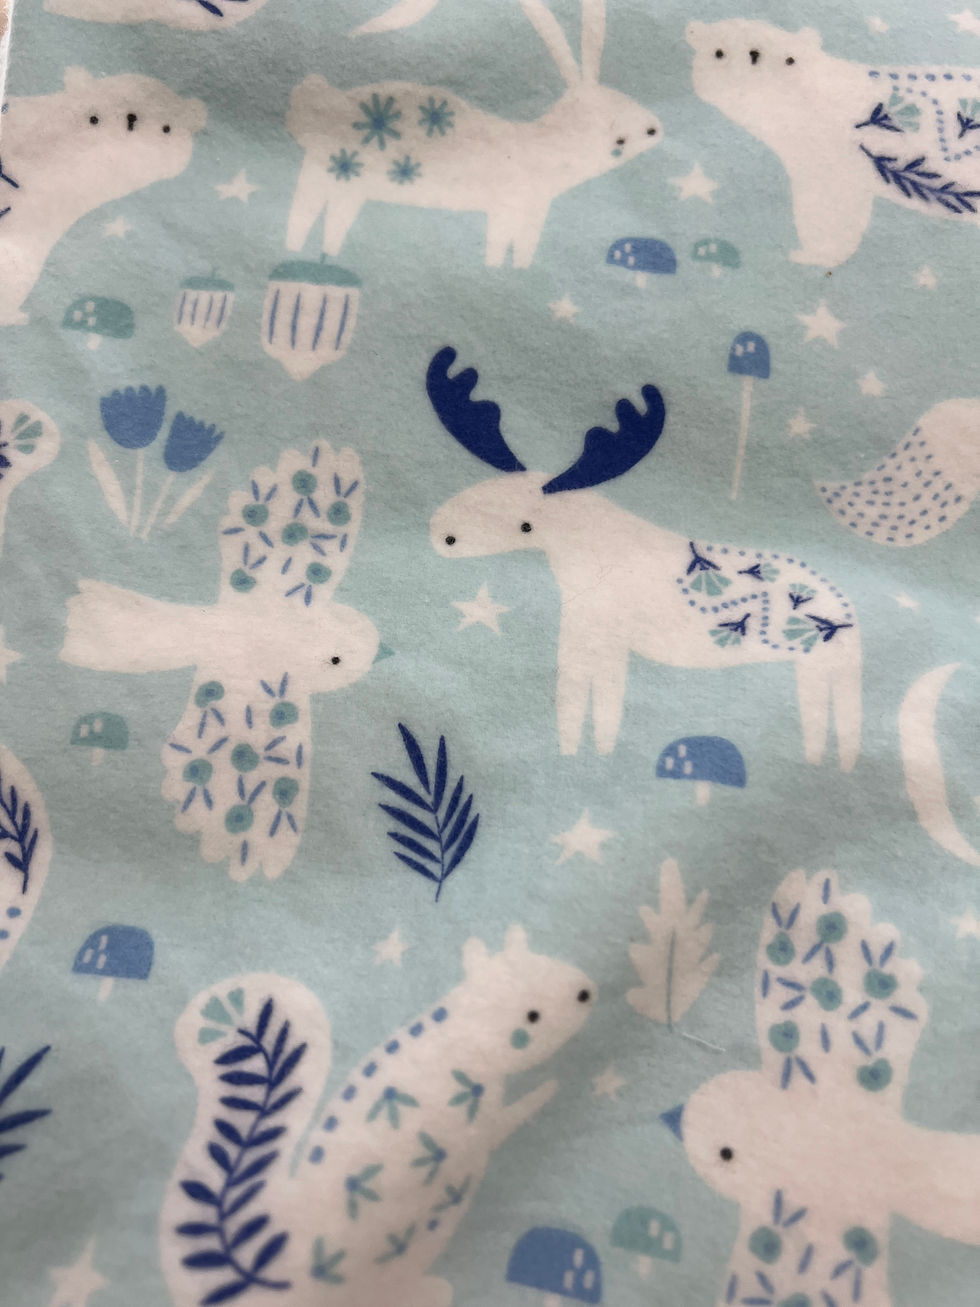
You have a print with a definite top and bottom (like animals that would look upside down).
You’re using a fabric with a nap or texture, like velvet, corduroy, or certain fleeces, that changes color or sheen depending on the direction.
In those cases, all the pattern pieces need to be facing the same way—top at the top, bottom at the bottom—when you’re laying them out.
But if you don’t have a directional print and you’re not using a napped fabric, you might be able to turn some pattern pieces upside down and save quite a bit of fabric.
5. Use A Different Fabric for Linings and Facings
Another way to save money is to consider cutting certain pieces from a different fabric.
This can be especially helpful when:
You’re working with an expensive fabric.
You’re working with a thick or bulky fabric like flannel, fleece, corduroy, etc.
Pieces like:
Linings
Facings
Pockets
Bias strips
…can often be cut from a lighter-weight or less expensive fabric.
Not only does that save your main fabric, but it can also make the garment more comfortable to wear and less bulky in those areas.
To recap, here are the main steps to help you purchase just the amount of fabric you need:
Decide on the pattern you’re going to make before you purchase your fabric.
Buy and prepare the pattern: choose your size, lay it out, and make any adjustments first. Then reassess whether you really need the full amount of fabric listed.
Get creative with your fabric layout:
Can you cut some pieces single layer?
Can you fold the fabric only partially instead of in half?
Can you skip a nap layout if your fabric isn’t directional or textured?
Use different fabrics for linings, pockets, facings, and even bias strips if possible—maybe something less expensive or less bulky than your main fabric.
I hope these steps help you the next time you’re purchasing fabric, especially if you’re buying it online. If you haven’t already grabbed the free PDF to set up your own fabric swatch system, I highly recommend it. Having a fabric swatch book really helps when you’re purchasing fabric online. You can check out the video where I explain how I use mine and grab your free copy of the Swatch Book below!