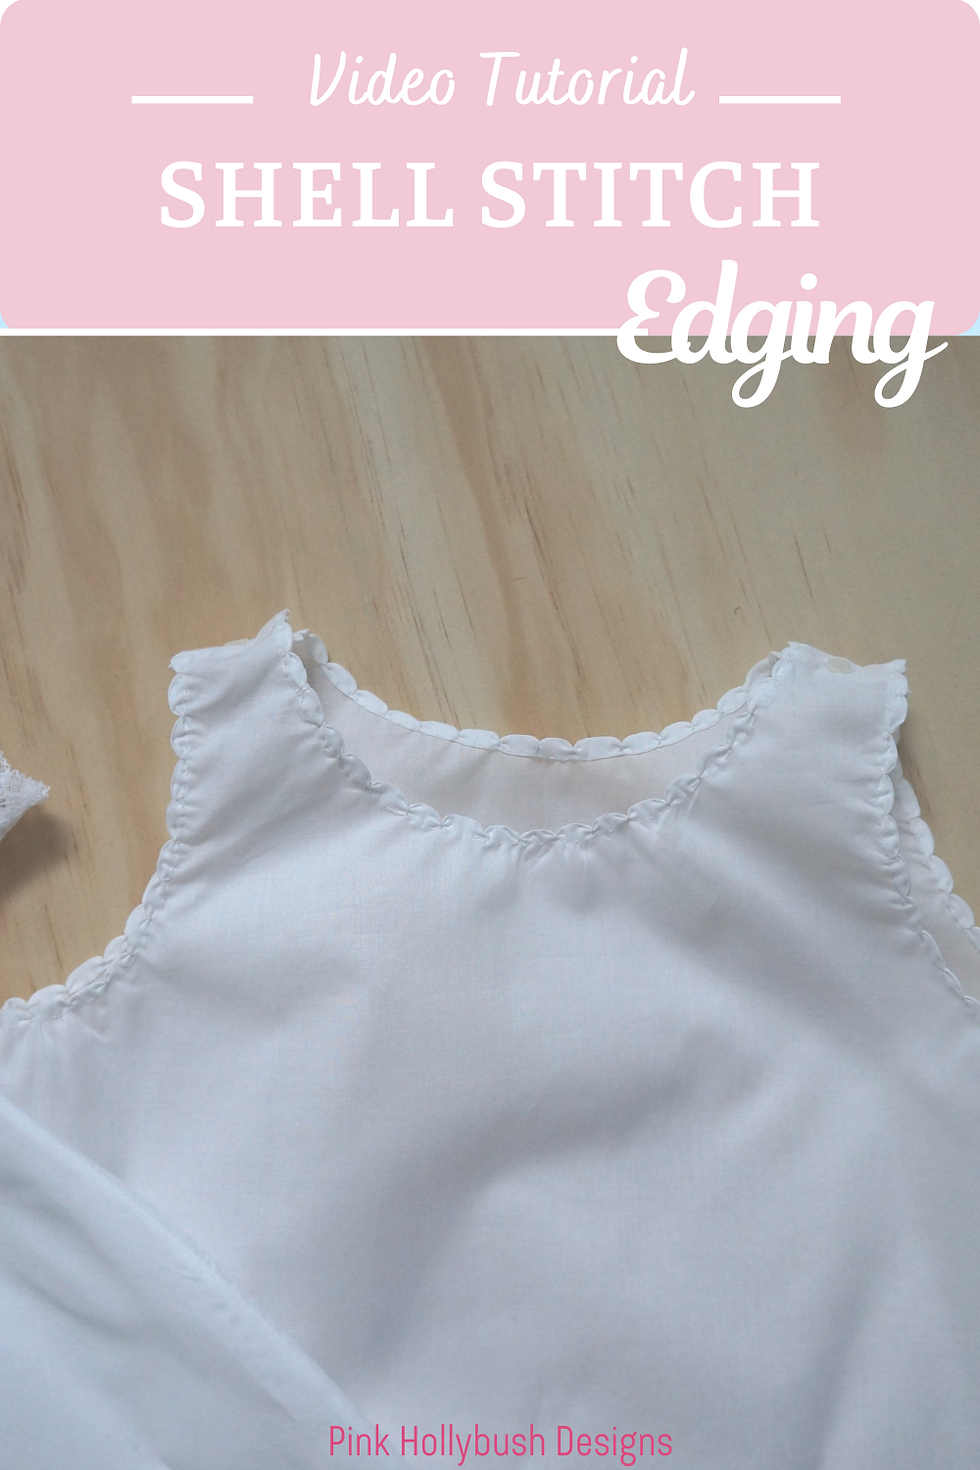
Shell Stitch Edging Video Tutorial
- Lisa Hawkes
- Feb 19, 2021
- 2 min read
Updated: Oct 15, 2021

With the snow coming down and the slower pace of January and February, I took some time and sorted through my UFOs. I decided it was time to try and finish up Lenore's Day Dress and Slip. This was a class I took with Cindy Foose several years ago. I decided to add a simple shell edging to the slip and of course that turned into a tutorial. There is both a video tutorial and written directions below.
Shell edging is a traditional heirloom technique that can be applied to finish the edge of a garment. It must be used on a lightweight fabric such as a batiste, lawn or voile. It has the advantage that it can be applied to the straight of grain, cross grain, or a curved edge which is on the bias as I did here.
To begin, press the edge to the wrong side by 1/8" and then press again by 1/8".

Using regular sewing thread that has been run through beeswax and a sharps or embroidery needle, take a few stitches in the seam allowance to anchor the thread. Stitch 2-3 running stitches along the folded edge to the first mark. (I have marked the hem every 1 cm).

Once the mark is reached, take the needle to the back and bring it from the back to the front, wrapping the thread over the fabric and pulling until just taught.

Repeat the previous stitch wrapping the thread a second time over the top and coming out at the same point.

Then give a gently tug on the thread to form the scallop.

This will form the scallop. Continue along the entire hem. Below is a video tutorial showing the process.
I love how Lenore's Day Dress and Slip turned out and am glad I have one less UFO!

I hope you give the Shell Stitch Edging a try. It is such a beautiful technique.


