
Adding Lace & Pinstitching to a Fine Hem
- Aug 22, 2019
- 2 min read

Last week I showed you how to create a Fine Hem otherwise know as a Rolled & Whipped Edge in Heirloom Sewing. Today I am back with part 2 - how to add lace and pinstitching to create a beautiful finished edge. Here is the video;
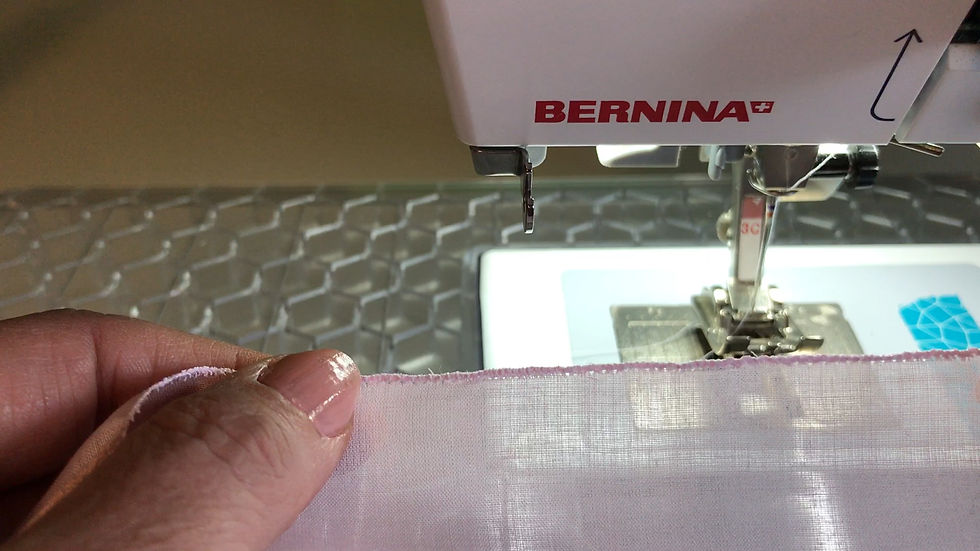
Place the fabric and the lace right sides together with the heading of the lace butting up against but not on top of the rolled and whipped edge. Then using the same machine settings that you did for the roll and whip (a regular zig zag stitch - in my case set to L of .8 and W of 3) stitch the lace to the fabric making sure that the needle enters the fabric on the left and swings over both the lace heading and the finished edge and entirely off of the fabric on the right.

It will again be rolling that edge and attaching it to the lace at the same time. This will make it doubly secure. Press the lace and fabric as you stitched it and then press the lace away from the fabric.

For the last step, find the pinstitch on your machine. The icon will look like the blanket stitch but when you stitch it, the needle will go back and forth in the fabric and then swing to the right to just catch the lace.

Use a large needle - 110 and 80 weight sewing thread. Place stabilizer under the fabric and lace where you are stitching. This is the key to a good looking pinstitch!

Enter the fabric right next to the lace. The needle will go back and forth in the fabric creating the holes and then swing to the right and catch the lace. That's it - a beautiful finished edge!

I hope you will give this finish a try the next time you want to add some lace to your sewing creation. Happy Sewing!